Instructions
Step 1: Go to My Space → LABELWISE → Labels.
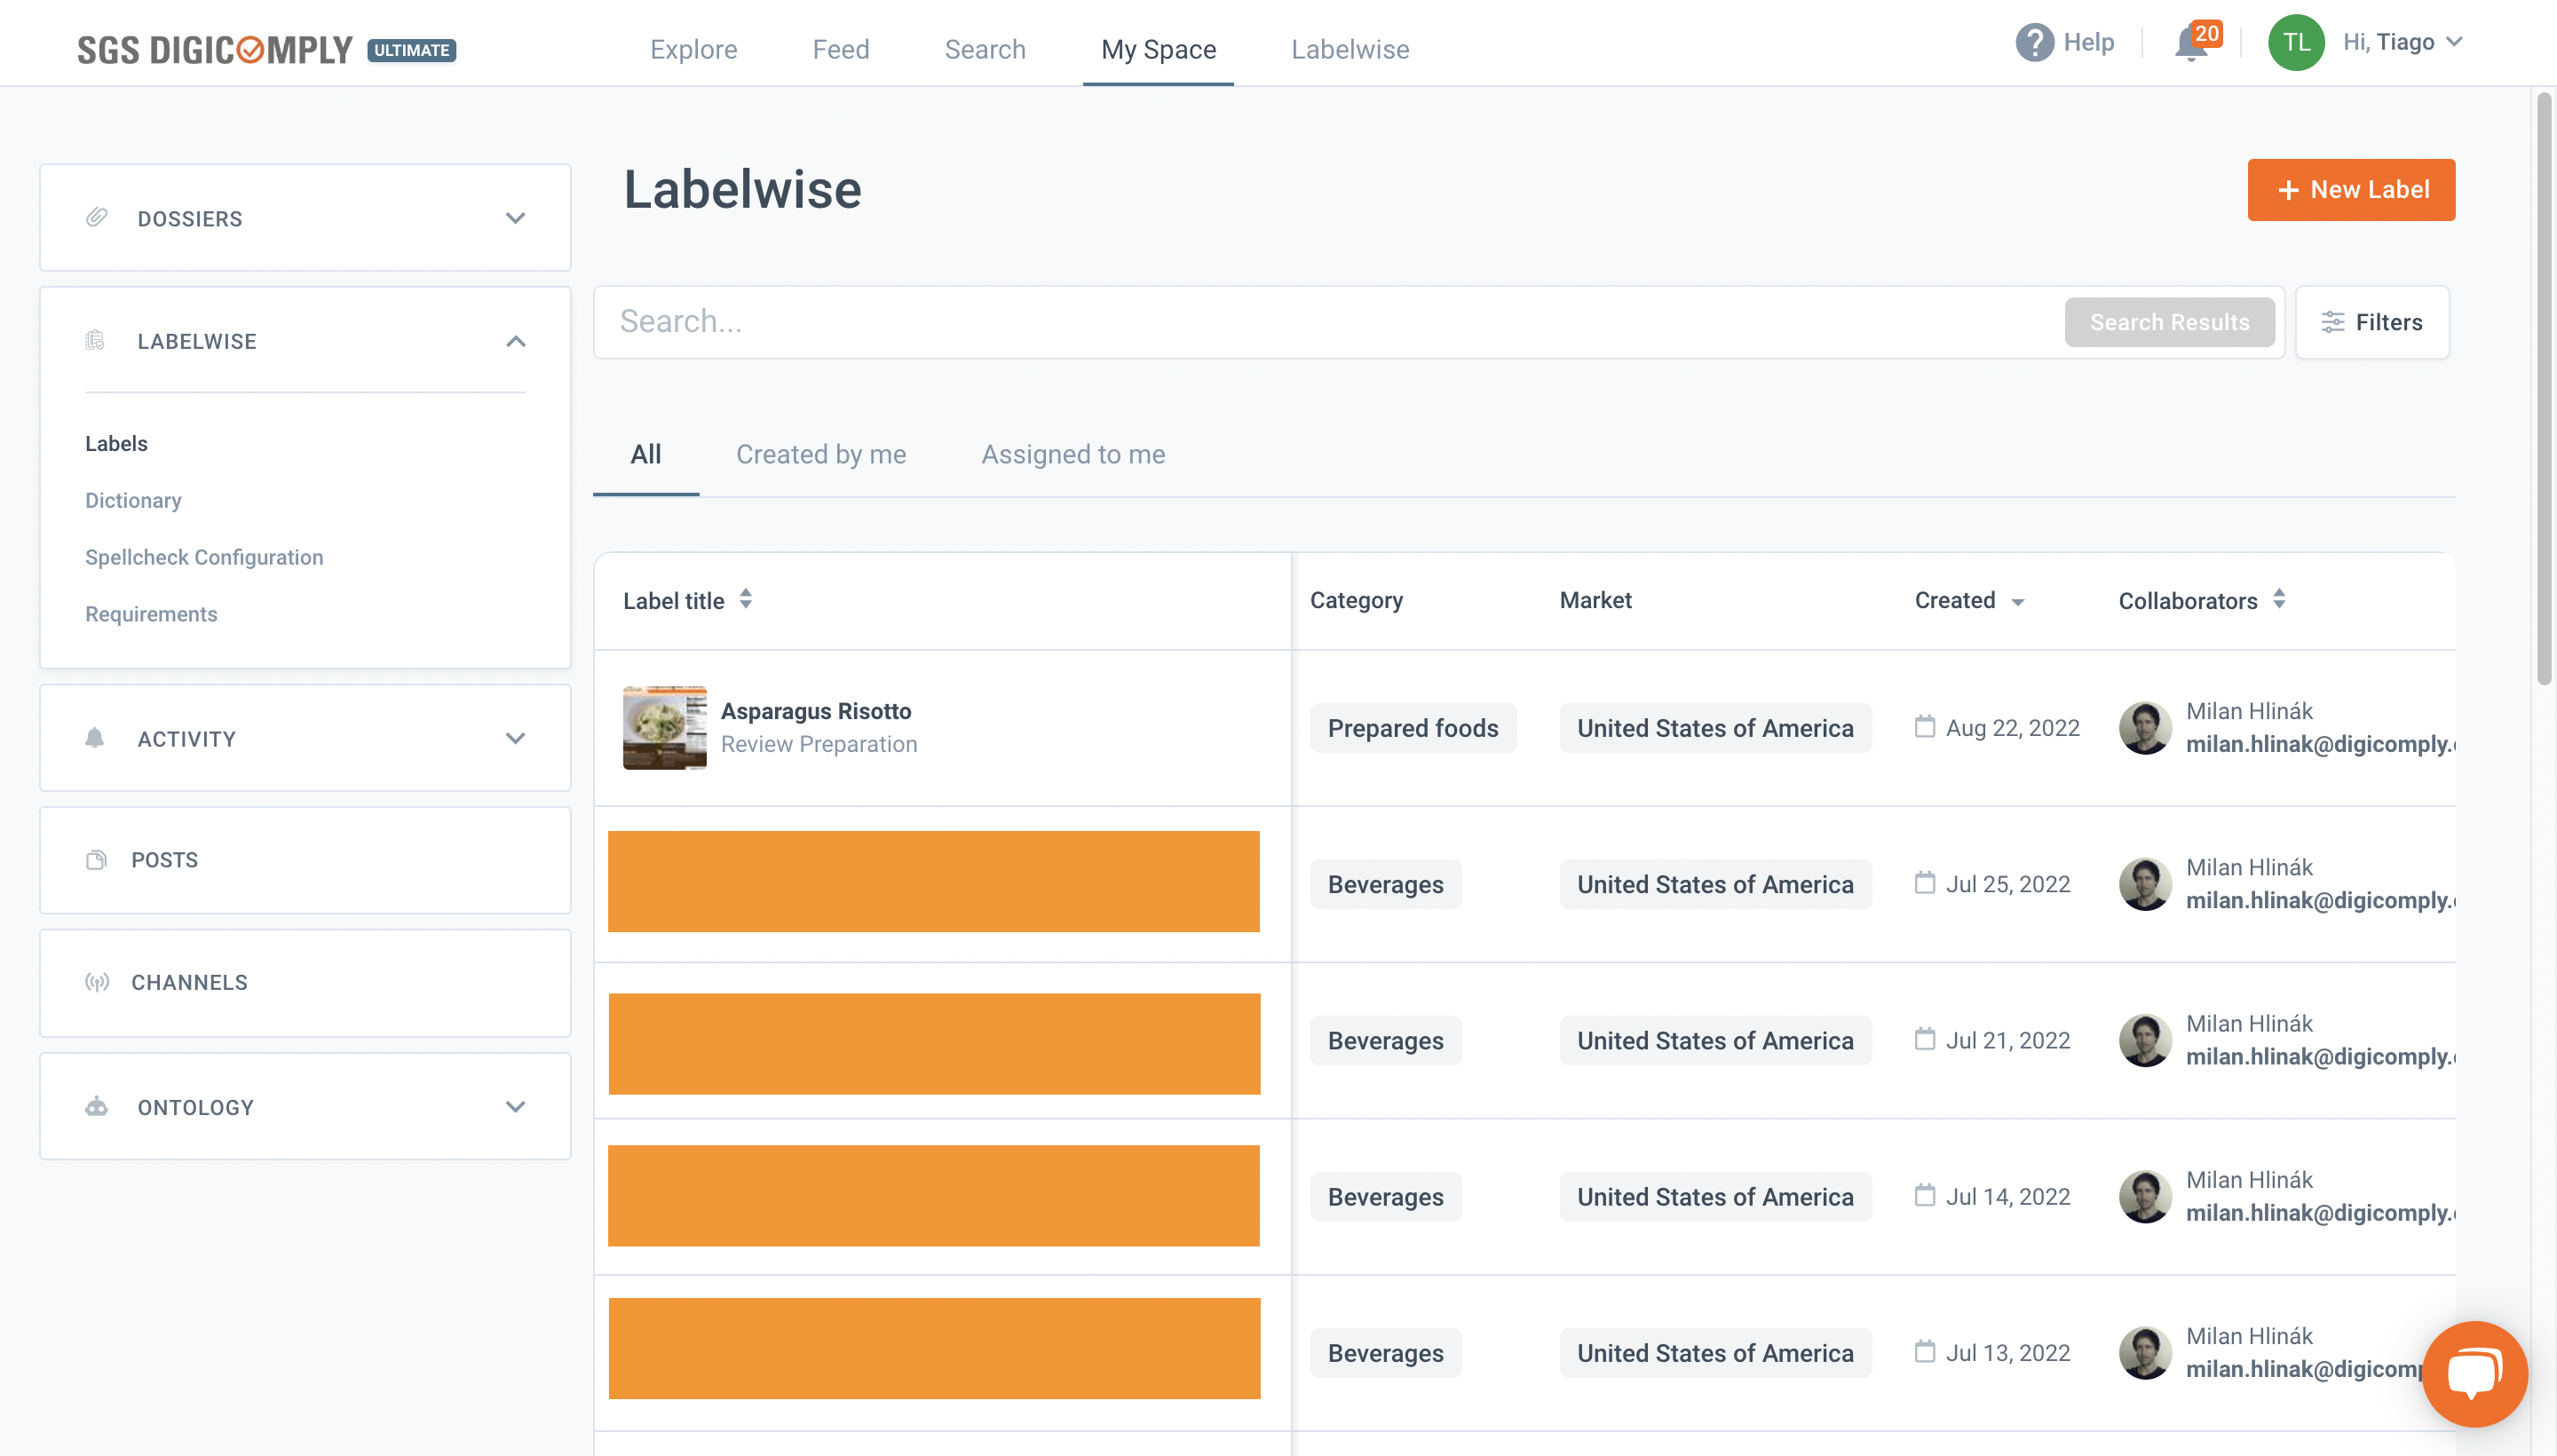
Step 2: Click on the +New Label button.
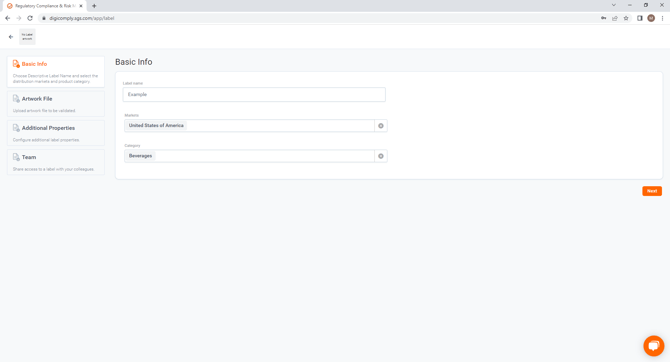
Step 3: Fill in basic information about the label - name, market, category.
Step 4: (Optional) Upload artwork in one of the supported formats.
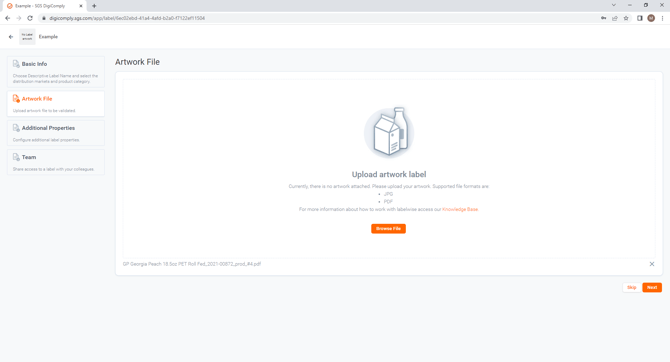
Info: Optional steps can be done later. But immediately after you upload artwork, the system will start processing in the background. So by the time you complete the next steps, it's likely that your artwork will already be processed.
Step 5: Fill in label properties which are required (Market, Requested by, Category), you can fill in the rest of the information later.
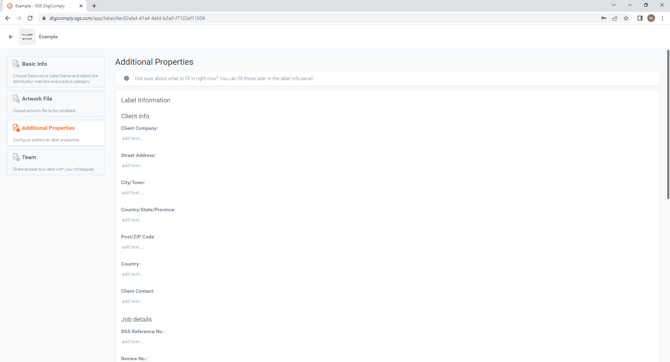
These properties are used in the review reports.
Step 6: (Optional) Share access to the label with your colleagues.
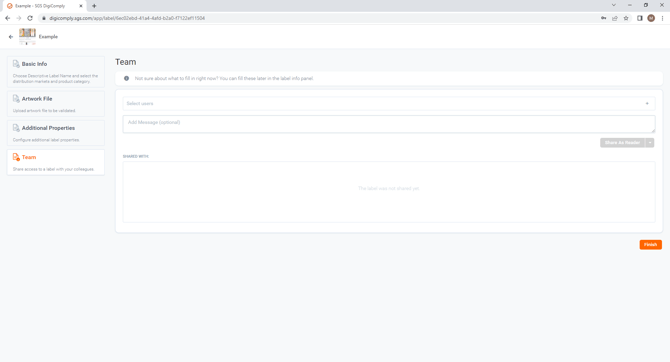
By default, only you as the creator of the label can access this label. If you want to give access to other team members, you can share this label. You can share as reader or editor. For more information please see How to manage access to a label .
Step 7: Finish label creation by clicking on the Finish button.
When the label is created, you will see it in the list of labels (My Space → LABELWISE → Labels).