See Task Assigned to you
Firstly go into email notification and have it as a 1st starting point.
OR
After a task is created, assignees will receive a notification and an email, so they can quickly navigate. However, SGS Digicomply also provides a page where you can see and filter activities assigned to you.
This page is available under My Space → ACTIVITY → Assigned To Me.
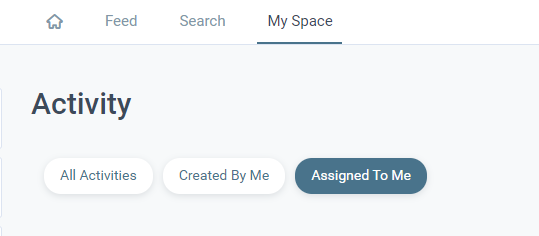
Here you can find all tasks that are assigned to you, you can filter them by status (all, resolved, unresolved) and date (most recent first, upcoming due dates).
From this page, you can also quickly navigate to related labels (by clicking on the label image preview), add replies, and resolve, (…).
OR
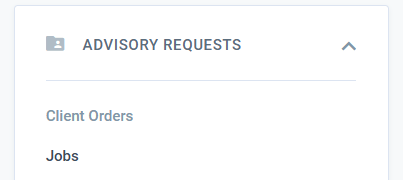
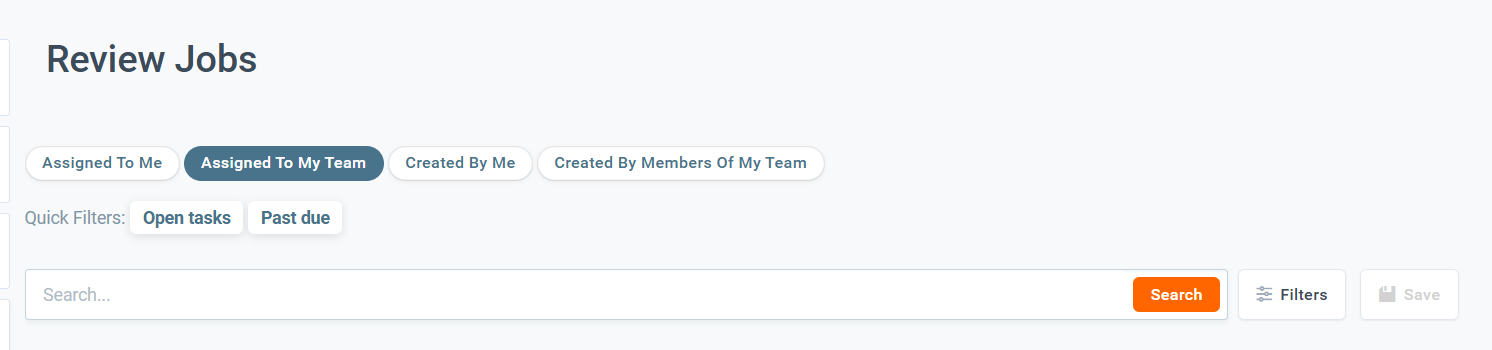
The new task you can also find under My Space →Advisory Requests →Jobs Assigned to My Team.
In this section you can filtrate or search the jobs assigned to your team using some available properties.
Add Feedback
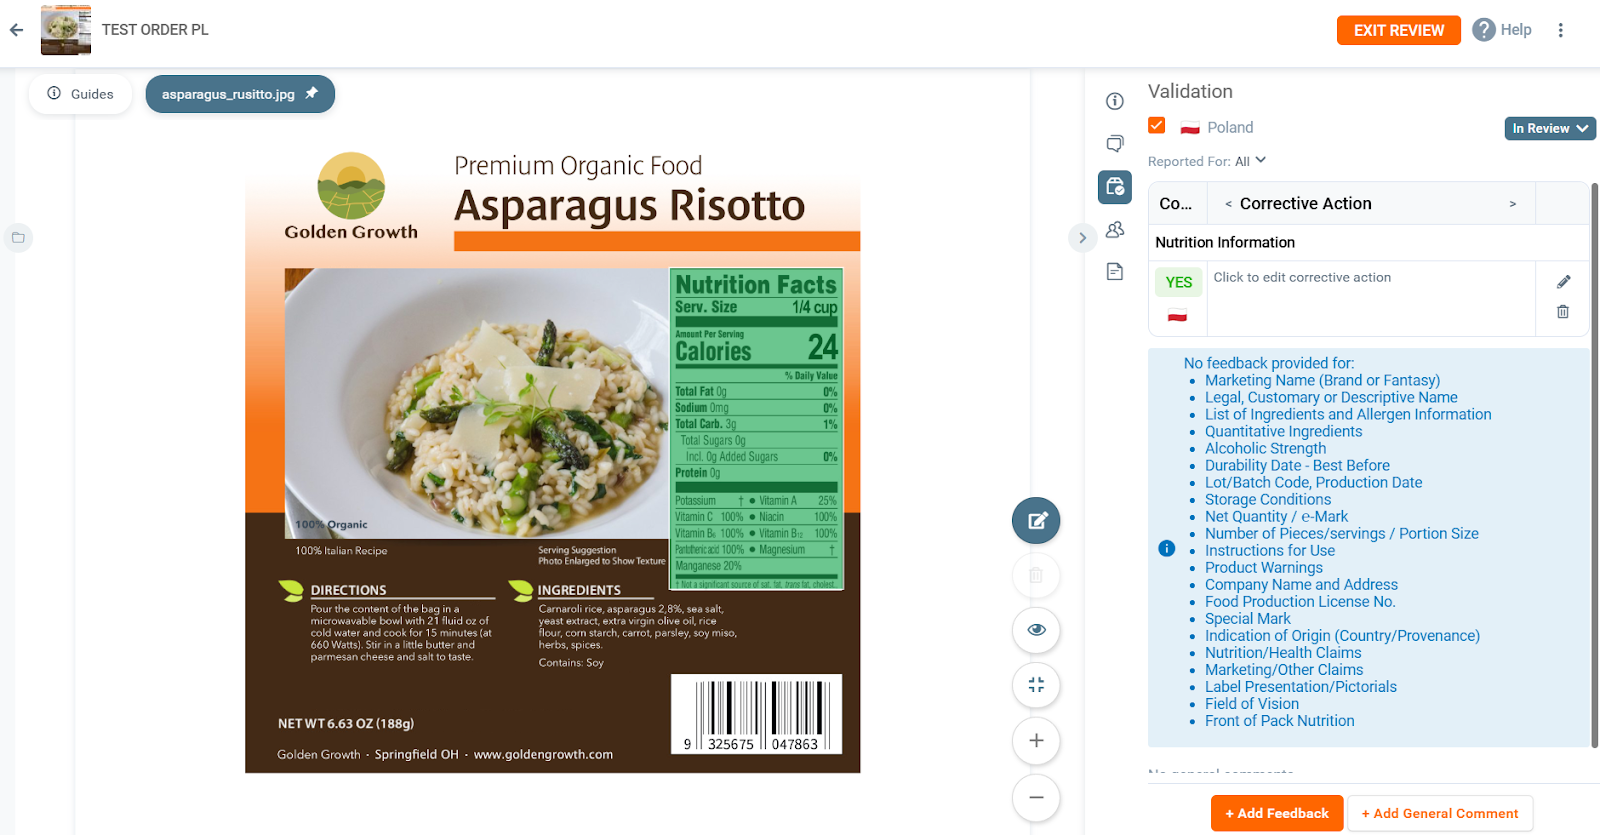
Now that we have all the elements in the artwork visible, we can start reviewing. For the purpose of this document, we will only review the Nutrition Facts Table and Ingredients List.
- Then correction should be done.
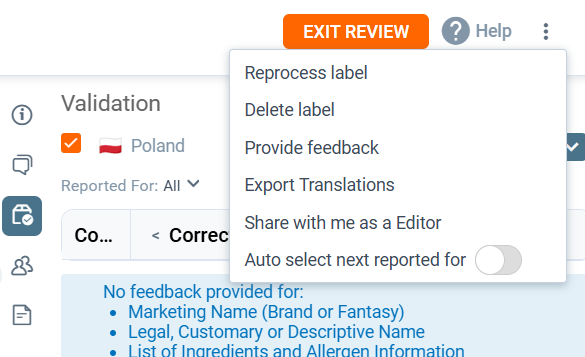
- Go to Validation Feedback section.
- Open “3 dots” in the right site top corner. Here you can on “Auto select next report for”. This will be helpful for the reviewer. The system will automatically prompt you to which items from the report you should add feedback. The system goes through all the items in the order as they appear in the report. If reviewer doesn’t want to use this please leave it off.
To provide the feedback there are two possible option. By clicking the element on the artwork or click button on the down right site panel “Add Feedback”.
After using the elements please make sure if correct market is selected and correct element in the field “Reported for”.
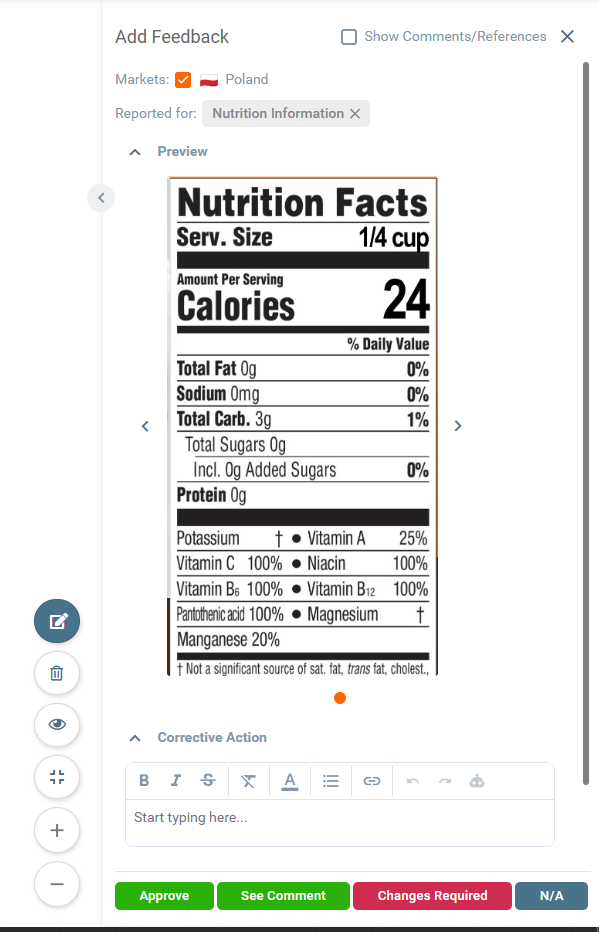
You need to provide the Validation as in "Approved", "Approved - See Comment", "N/A" or "Changes Required".
Have in mind that, for an element to be approved it's optional to write reasoning, on the other hand, if we validate an element as "Changes Required" we are mandatory to write the reasoning behind our decision.
If everything is correct, we just click "Approve". By doing that, not only did the highlighted position in the Artwork change to green but also in the side panel we changed to the "validation Feedback" Section, where we can see that our Validation was posted.
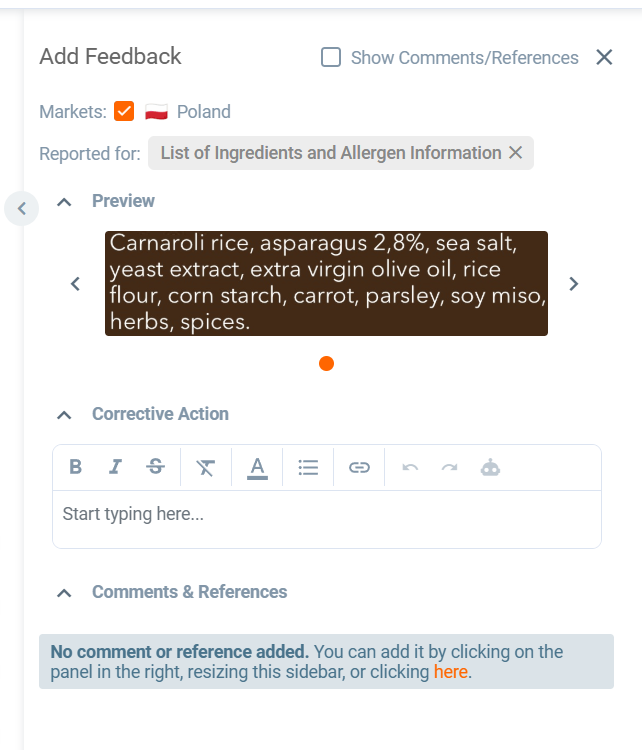
Let's now review the Ingredients List and Allergen Information! For this one, we will validate it as "Changes Required".
Once again, please select correct element for Validation Feedback, but in this case, we will validate for "Changes Required", which means we will have to provide reasoning for our decision.
In the section “Corrective Active” please provide correction which should be done for this point.
Once the market is selected you should have "In Review" Status, which means we can start reviewing the artwork.
Now is the time to add the comment and explain why this correction should be made. Please remember that this is obligatory to provide the explanation of such changes.
There is two option to open the window do provide the comments.
You can click “Here” link from below.
Or you can click “Show Comments/References”

Now you need to comment changes which you made. How to do it you can find in the instruction “How to attach Comments and References to feedback”.
If everything is correct, we just click "Changes Required". By doing that, not only did the highlighted position in the Artwork change to red but also in the side panel we changed to the "validation Feedback"
Section, where we can see that our Validation was posted.
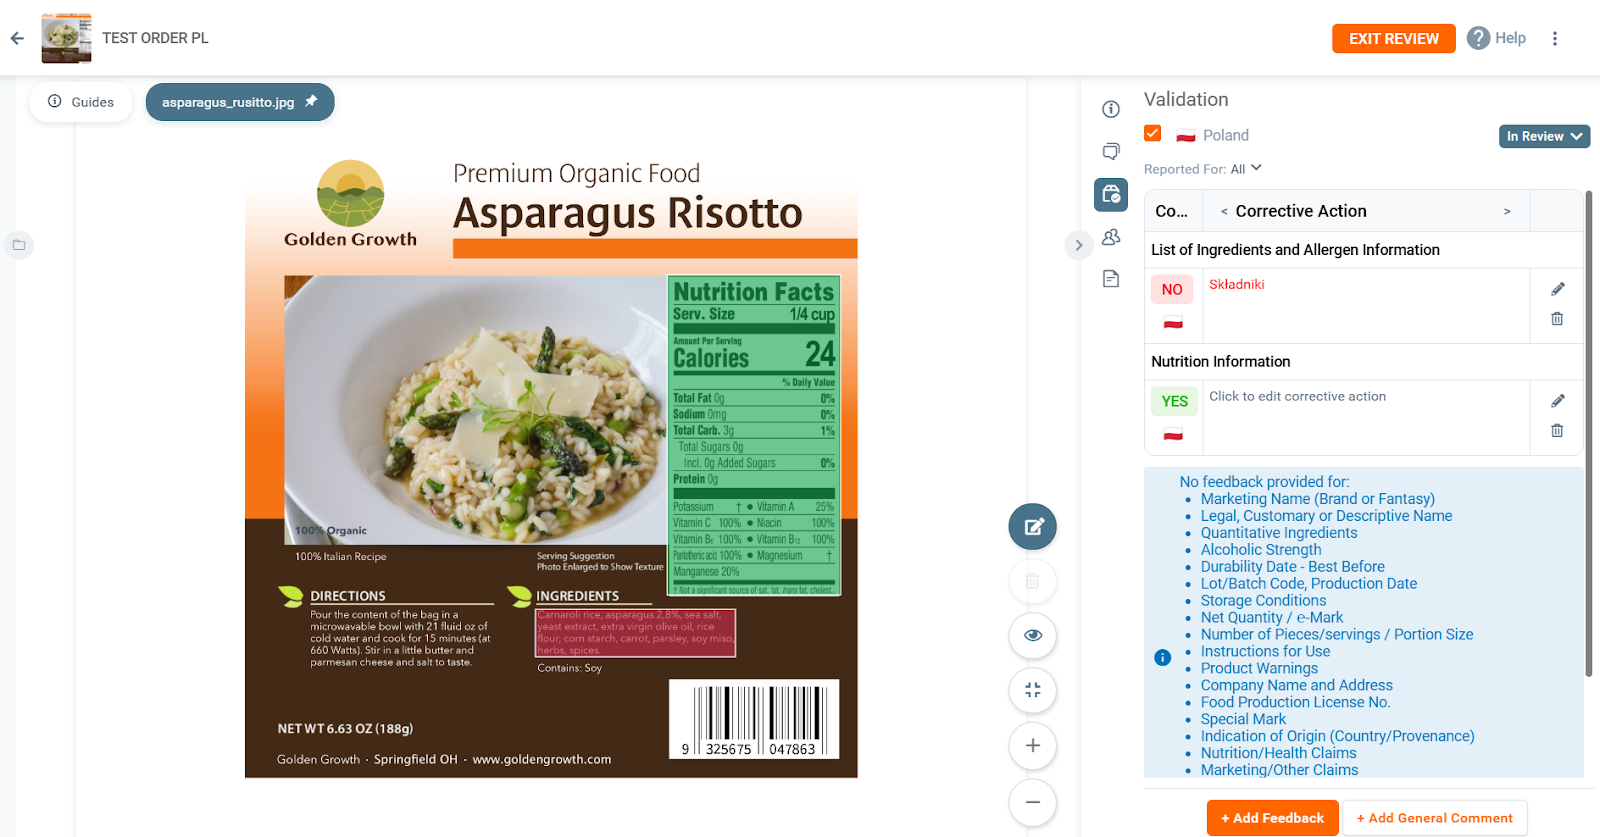
In the review you can also provide also general comments, which means we are providing Feedback that is not "connected" to any of the positions or elements in the artwork. You need to click “Add General Comment” button.

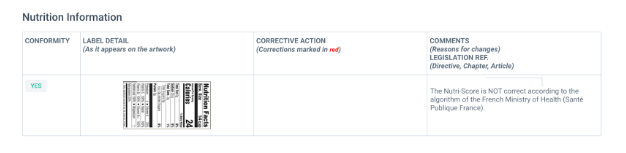
This is how it will look in the Report/Dossier the comments and references attached and why it is so important to add an explanation and a legal reference in addition to just have written the changes required.
In the following Report/Dossier example we can see that it was “Approved - See comment” and within that comment is the explanation and the Legal reference of why it was “Approved but with condition to see comment”.
Resolve the Task assigned to you and let your teams know you’ve finalized. (This is additional stuff expect change the job status to inform Managing Afiliate that you end the review).
- Go to the Label you’re working on.
- Go to Comments & Tasks, on the right sidebar of the screen.
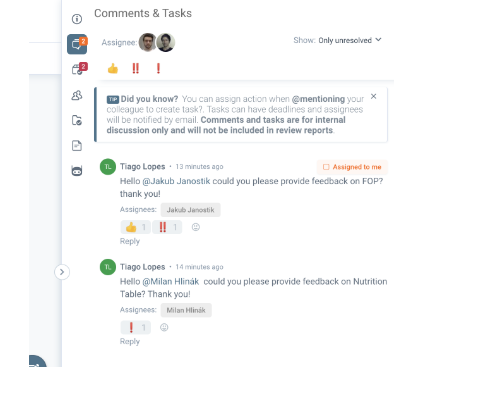
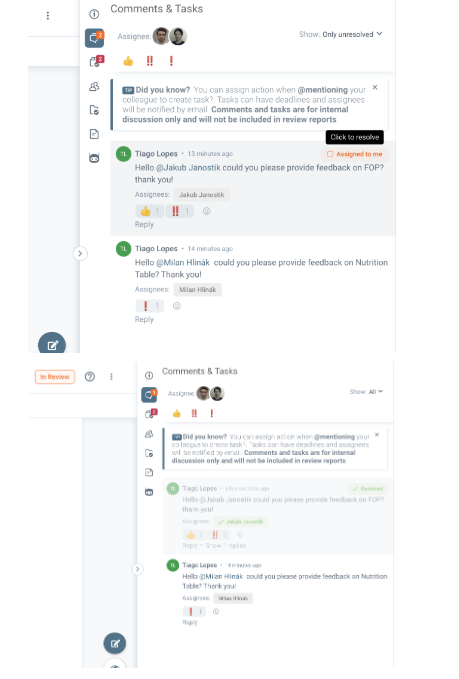
3. See where is the Task you were Assigned to and that you have finished already, hover over the “assign to me” orange tag, and it will show the “Resolve Task” green tag button, click it and the Task should be marked as resolved.
The Label Owner will then receive an email notification that the job is done.
Discover our new onboarding platform full of video guides - SGS Academy!